Cleaning a Munchkin’s Ears Without Tipping It Back
As a Munchkin cat parent, you've probably encountered the unique challenges that come with their adorable, yet distinct, physique. One task that can feel surprisingly difficult is cleaning their ears without causing them stress or discomfort, especially when the usual methods involve tipping their head back. It's a common struggle – trying to reach those ear canals while keeping your little low-rider relaxed and avoiding any strain on their delicate spine. This guide is all about giving you the gentle, effective techniques you need to keep your Munchkin's ears pristine and healthy, all while respecting their unique body structure.
The Unique Challenges of Cleaning a Munchkin's Ears
Let's be honest, cleaning any cat's ears can be a bit of a dance, right? But with a Munchkin, that dance takes on a whole new set of moves. Their distinctive short legs mean their center of gravity is lower, and their body mechanics are just a little different from their long-legged cousins. This isn't just about appearance; it genuinely impacts how they move, how they balance, and how they react to being handled, especially when it comes to something as sensitive as their head and neck.
Understanding Their Anatomy and Posture
Munchkins have short legs due to an autosomal dominant gene, but their spine is generally a normal length. This combination means they carry their body weight in a slightly different way. When you try to tip a conventional cat's head back, they might brace themselves with their long legs and flexible spine, but for a Munchkin, this position can feel awkward and potentially put undue pressure on their back. Imagine trying to stand on your tiptoes while someone tilts your head way back – it's just not comfortable or natural. Their unique structure means that what feels normal for a standard cat can be a source of stress or even discomfort for a Munchkin. It’s important to remember Why a Munchkin's Spine Carries a Load a Normal Cat's Does Not, and this sensitivity extends to how they're handled.
Why Traditional Methods Don't Always Work
Many common ear-cleaning techniques for cats involve holding them firmly, often with their head tilted upwards or even scruffed gently to prevent movement. While some cats tolerate this, it's not ideal for a Munchkin. Scruffing, in particular, can be quite stressful for any cat, but when combined with a head tilt, it can feel particularly compromising for a Munchkin who already has a different relationship with balance and movement. They might struggle more, become more agitated, and associate ear cleaning with a negative experience. We want to avoid anything that makes them feel vulnerable or out of control. Plus, if your Munchkin already has any underlying spinal sensitivities or conditions like lordosis, an overly aggressive or awkward handling technique could exacerbate the problem. You really want to be mindful of What Lordosis Actually Is in a Munchkin and avoid putting unnecessary pressure on their back.
The Importance of a Calm and Gentle Approach
For your Munchkin, a calm and gentle approach isn't just a nicety; it's a necessity. Their personality is often described as playful and curious, and they thrive on positive interactions. A forceful or uncomfortable experience can quickly lead to resistance, making future ear cleanings much harder. Building trust and making the process as stress-free as possible is key. This means approaching them when they're relaxed, using soothing tones, and ensuring you're working in an environment where they feel secure. The goal is to clean their ears effectively without turning it into a wrestling match or causing them any undue anxiety about being handled.
Gathering Your Gentle Ear Cleaning Arsenal
Before you even think about touching your Munchkin's ears, having the right tools on hand will make the entire process smoother for both of you. It's not just about the cleanser; it's about everything from the cotton pads to the environment you create. Think of it as setting the stage for a calm, comfortable spa treatment for your feline friend, rather than a necessary chore.
Choosing the Right Cleanser
The foundation of a good ear cleaning is, naturally, the cleanser. You absolutely want to use a veterinary-approved ear cleaning solution specifically designed for cats. Avoid anything that isn't formulated for pets, as human products can contain ingredients that are irritating or even harmful. Look for solutions that are gentle, non-stinging, and help break down wax and debris. Your vet can recommend a specific brand or type that's best for your Munchkin, especially if they have sensitive skin or a history of ear issues. I’ve often found good selections available from online pet retailers like Chewy or even on Amazon, but always double-check with your vet first to ensure compatibility. Steer clear of alcohol-based solutions, hydrogen peroxide, or witch hazel, as these can dry out or irritate the delicate skin inside a cat's ear canal.
Essential Tools for the Task
Beyond the cleanser, you'll need a few other items to ensure a thorough yet gentle cleaning:
- Cotton Balls or Soft Gauze Pads: These are ideal for wiping away debris and excess solution. They are soft, absorbent, and won't scratch the delicate ear flap. Make sure you have plenty on hand, as you'll want to use fresh ones as needed.
- Soft Cloth or Paper Towels: Useful for protecting your clothing from splashes and for wiping your hands.
- Treats: Crucial for positive reinforcement! Have a supply of your Munchkin's favorite treats ready to reward cooperation during and after the process.
- Optional: A Headlamp or Small Flashlight: While not strictly necessary for every cleaning, a small, hands-free light can be incredibly helpful for getting a clear view inside the outer ear canal, especially if your Munchkin has dark fur or deep ears.
What to Avoid:
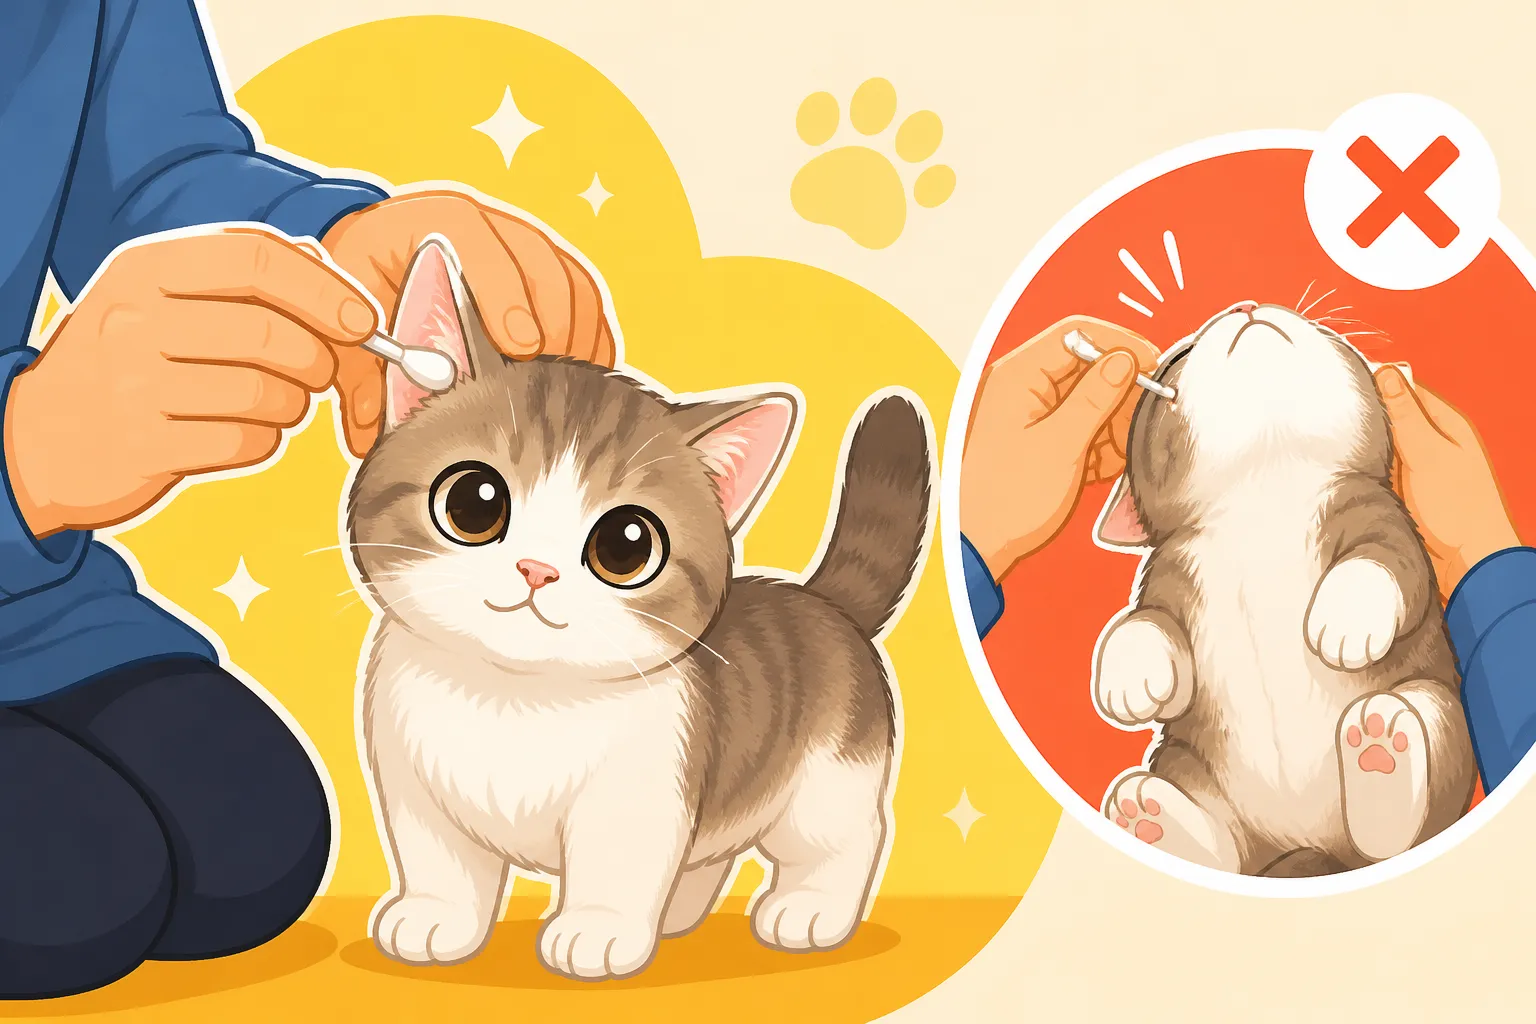
Absolutely do not use cotton swabs (Q-tips) to clean inside your cat's ear canal. While they might seem convenient for small spaces, they can easily push wax and debris further into the ear, potentially causing blockages or even damaging the eardrum. Stick to cleaning only the visible parts of the ear.
Creating a Safe and Comfortable Space
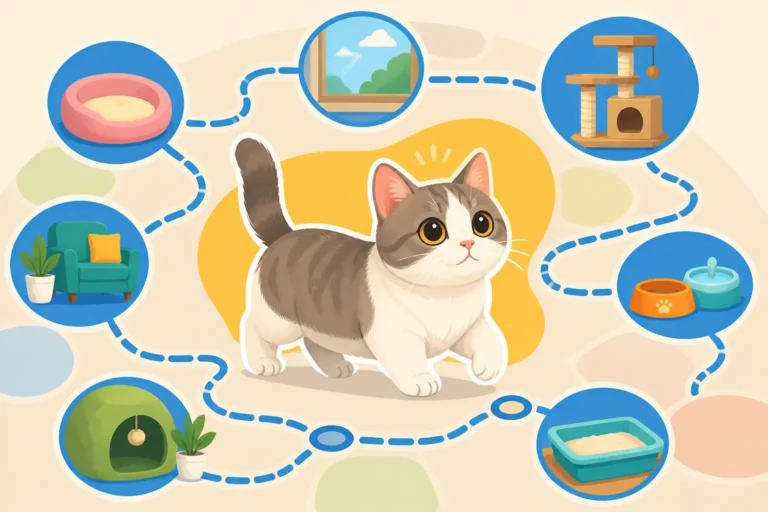
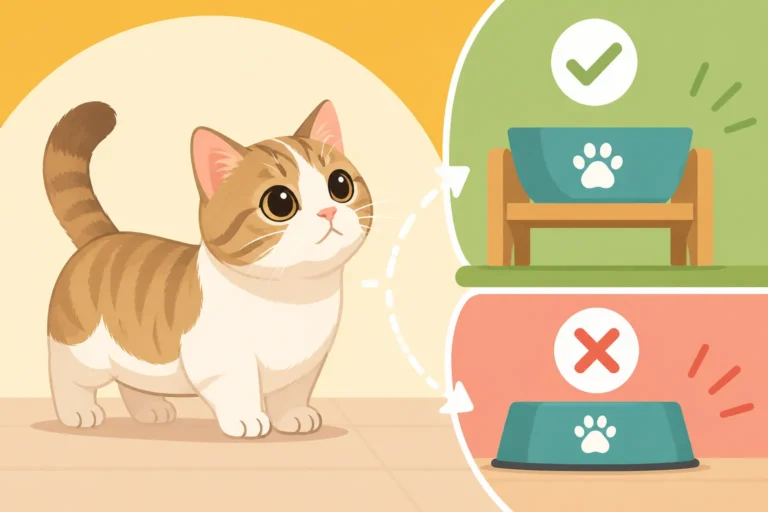
The environment plays a huge role in your Munchkin's comfort. Choose a quiet, well-lit area where you won't be interrupted. A non-slip surface is essential. Consider a mat on the floor or a low, sturdy table where your Munchkin can feel secure without the risk of slipping. Since your Munchkin’s belly practically touches the floor, a low surface or the floor itself can be ideal, as it reduces any need for them to jump or be lifted high, which can already be a source of anxiety. Remember Why a Munchkin's Belly Nearly Touches the Floor; they feel most stable on solid, low ground. If your cat tends to be fidgety, having a towel ready to gently wrap them in (like a "purrito") can help, but avoid overly restrictive holds. The key is to make them feel contained and secure, not trapped.
A Step-by-Step Guide to Stress-Free Ear Cleaning
Alright, you've got your gear, you've set the stage, and your Munchkin is hopefully in a relaxed mood. Now it's time for the main event. Remember, patience is your superpower here. Rushing will only lead to a less thorough cleaning and a more stressed cat. Take your time, breathe, and keep those positive vibes flowing.
Preparing Your Cat and Environment
Start by making sure your Munchkin is calm. If they’re zooming around the house after a toy or taking their afternoon nap, choose the latter. Gently approach them, offering pets and praise. You might even offer a small treat before you begin to associate your presence with good things. Lay out all your tools within easy reach on your chosen surface – the floor, a low table, or even a soft mat. If you plan to use a towel wrap, gently place your cat on the towel, allowing it to cover their body but keeping their head free. This provides a sense of security and can help prevent them from backing away or wiggling too much, all without needing to apply a strong, potentially uncomfortable hold.
The Gentle Cleaning Technique
Now for the actual cleaning. The goal is to clean the outer ear flap and the visible folds, not to probe deep into the ear canal.
- Examine the Ear: Gently fold back your Munchkin's ear flap. Take a moment to look inside. Does it look pink and clean, or is there redness, discharge, or a foul odor? This initial check helps you assess the situation. If you see anything concerning, stop and consult your vet. Which Health Problems the Munchkin Actually Has often includes ear issues, so vigilance is key.
- Apply the Cleanser: Take your chosen ear cleanser and, holding the ear flap upright, gently squirt a small amount of solution directly into the ear canal. Don't overfill it, just enough to moisten the area.
- Massage the Base of the Ear: This is the crucial part for loosening debris. Gently massage the base of your Munchkin's ear for about 20-30 seconds. You should hear a squishing sound, which means the solution is moving around and breaking up wax. Your cat might shake their head a little during or after this, which is normal and helps bring loosened debris to the surface.
- Wipe the Outer Ear: Take a fresh cotton ball or gauze pad and gently wipe the visible parts of the ear flap, including all the nooks and crannies of the outer ear. Wipe away any loosened wax, dirt, or excess solution. Remember, never insert anything into the ear canal. Use as many fresh cotton balls as needed until no more visible dirt comes off.
- Repeat on the Other Ear: Once one ear is clean, repeat the entire process for the other ear. Ensure you use fresh cotton balls and a calm approach for the second ear, too.
| Action | Do | Don't |
|---|---|---|
| Cleanser | Use vet-approved, gentle solutions. | Use alcohol, hydrogen peroxide, or human products. |
| Tools | Cotton balls, gauze pads, soft cloths. | Cotton swabs (Q-tips) in the ear canal. |
| Approach | Be calm, gentle, and use positive reinforcement. | Force, scruff, or rush the process. |
| Cleaning Area | Outer ear flap and visible folds. | Probe deep into the ear canal. |
| Munchkin Comfort | Work at floor level, use a non-slip surface. | Tip head back forcefully, make them feel unstable. |
| Observation | Check for redness, odor, discharge before and after. | Ignore signs of infection, assume it's just dirt. |
Rewarding Good Behavior
As soon as you're done, heap praise on your Munchkin! Offer those favorite treats and engage in a bit of gentle play. The goal is to create a positive association, so they remember the treats and attention more than the ear cleaning itself. This positive reinforcement makes a huge difference in how they'll react to future cleaning sessions. Even if they were a bit grumpy during the process, end it on a high note. Over time, with consistent gentle handling and rewards, many Munchkins learn to tolerate, and sometimes even enjoy, the attention. Consider giving them a small, healthy treat after each ear cleaning session.
Proactive Ear Health and What to Watch For
Regular ear cleaning is just one piece of the puzzle when it comes to maintaining your Munchkin's overall ear health. Being observant and knowing what to look for can help you catch potential problems early, preventing them from escalating into more serious conditions. It's about being proactive and tuning into your cat's subtle cues.
Regular Checks and Early Detection
You don't need to clean your Munchkin's ears every day, but a quick visual check should be part of your regular grooming routine, perhaps weekly. Gently fold back the ear flap and simply look inside. A healthy cat's ear should be pale pink, have minimal visible wax, and no odor. Watch for signs like excessive scratching, head shaking, or sensitivity when you touch their ears. These are often the first indicators that something might be amiss. Any redness, swelling, dark discharge (which can look like coffee grounds and often indicates ear mites), yellow or green pus, or a strong, unpleasant smell are all red flags that warrant a trip to the vet. These signs suggest an infection or infestation that needs professional diagnosis and treatment. Early detection is key to preventing discomfort and more complicated medical interventions.
Preventing Future Issues
Beyond regular cleaning, there are a few things you can do to support your Munchkin's ear health:
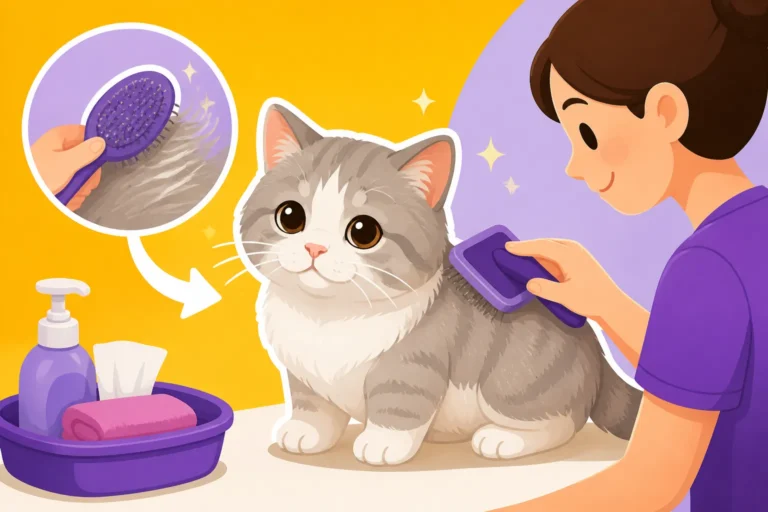
- Maintain Overall Hygiene: Because Munchkins are low to the ground, their fur, especially on their belly and hindquarters, can sometimes pick up more dirt and debris. While this usually doesn't directly affect their ears, keeping their overall coat clean, particularly What a Munchkin Cannot Reach to Groom, can reduce the chances of them transferring dirt or allergens to their ears during self-grooming. Regular brushing, even if they're shorthaired, helps.
- Monitor for Allergies: Cats can develop environmental or food allergies that manifest as itchy skin, including itchy ears. If your Munchkin seems to have persistently itchy ears despite regular cleaning, discuss potential allergies with your vet.
- Keep Them Dry: After a bath (which you might need to give your Munchkin more often, given their low stature) or if they get wet, ensure their ears are thoroughly but gently dried to prevent moisture buildup, which can create a breeding ground for yeast or bacteria.
When to Call the Vet
While gentle home cleaning is beneficial for maintenance, it's crucial to know when a professional needs to step in. If you notice any of the red flags mentioned earlier – persistent scratching, head shaking, strong odor, redness, swelling, or any type of discharge – it's time to call your veterinarian. These symptoms often indicate an ear infection (bacterial or yeast), ear mites, or even a foreign object, all of which require veterinary diagnosis and specific medication. Never try to self-diagnose or treat an ear infection with over-the-counter products without veterinary guidance, as this can worsen the problem or delay proper treatment. Your vet can perform an otoscopic exam to look deep into the ear canal, collect samples for analysis, and prescribe the correct course of action, ensuring your beloved Munchkin gets back to feeling their best. Regular vet check-ups are always a good idea to keep tabs on Which Health Problems the Munchkin Actually Has.
Disclaimer
This article is for general informational purposes only and does not constitute professional advice. Laws, prices and regulations vary by location and change over time. Consult a qualified professional for guidance on your specific situation.