Getting a Mat Out of the Part a Munchkin Cannot Reach
One of the trickiest parts of living with a adorable Munchkin cat is navigating the unique grooming challenges that come with their wonderfully short legs. It's a real frustration when you spot a mat forming in a spot your little one simply cannot reach, often tucked away in their hindquarters or under their belly. This guide is all about helping you understand why these mats happen in those awkward places and, more importantly, how you can safely and gently get them out, ensuring your Munchkin stays comfortable and mat-free.
Understanding Why Munchkins Get Mats in Hard-to-Reach Places
Munchkin cats are truly special, and their distinctive short legs, while endearing, do present a few unique hurdles when it comes to self-grooming. It’s not that they don’t try to keep themselves pristine; it’s just physically harder for them to contort into all the necessary positions a long-legged cat takes for granted. This anatomical reality means certain areas become prime real estate for mats if we, their human companions, don’t step in to lend a helping paw.
The Anatomy of the Challenge
Imagine trying to clean your own back thoroughly when your arms are significantly shorter. That's essentially the daily struggle for a Munchkin trying to reach its hindquarters or the middle of its belly. Their body length is perfectly normal, but those adorable, stubby legs create a reach deficit. The areas most commonly affected are:
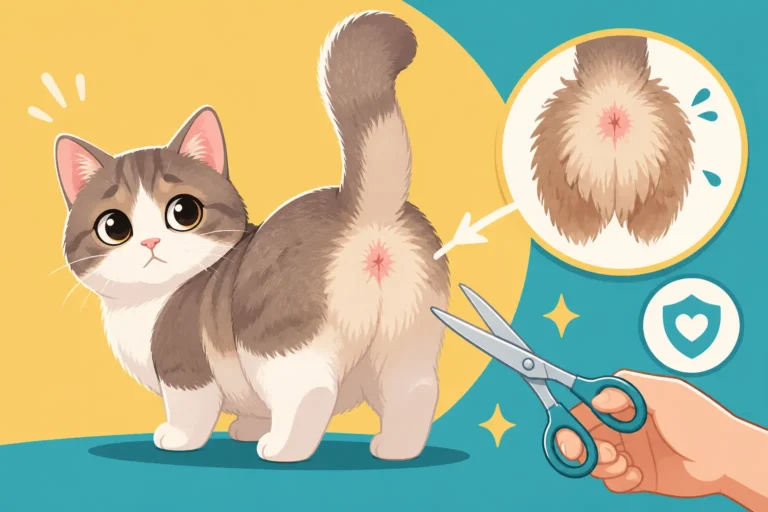
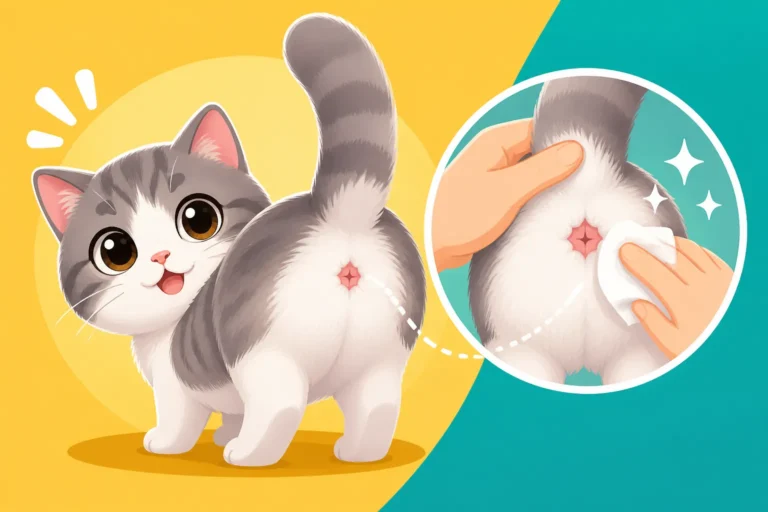
- Hindquarters (around the tail and anal area): This is perhaps the most common trouble spot. After using the litter box, a Munchkin might struggle to thoroughly clean itself, especially if they have longer fur. Moisture and debris can get trapped, quickly leading to mats that are not only uncomfortable but can also cause hygiene issues. This often becomes a particular concern as your Munchkin gets older and less flexible, making it even harder for them to maneuver. We talk about this more in What an Old Munchkin Stops Being Able to Do.
- Under the Belly and Armpits: These are areas of frequent friction—whether from walking, lying down, or simply rubbing against furniture. The fur here can easily tangle and compact, especially if your Munchkin loves to roll around on carpets. The closeness of their belly to the ground also contributes to picking up more dust, dirt, and stray litter, which can then get woven into their fur and kickstart mat formation.
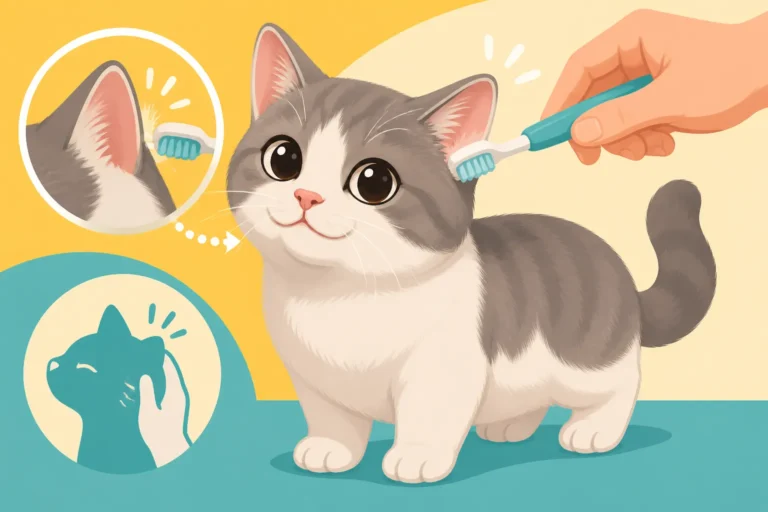
- Behind the Ears and Neck: While not directly leg-related, these spots can be challenging for any cat to reach effectively, and a Munchkin’s slightly altered range of motion can exacerbate the problem. Small mats can start here and, if neglected, grow into larger, painful tangles.
It’s crucial to remember that these aren't signs of a dirty cat; they're simply a direct consequence of their unique physique. We, as their caregivers, need to be vigilant and proactive.
Factors Contributing to Matting
Beyond the physical limitations, several other factors can increase the likelihood of your Munchkin developing mats, particularly in those hard-to-reach zones.
- Coat Length and Type: Long-haired Munchkins, of course, are at a higher risk for matting than their short-haired counterparts. Their silky, often finer fur tends to tangle more easily. However, even short-haired Munchkins can develop mats, especially if their undercoat isn't regularly brushed. Factors like humidity or seasonal shedding can also play a role, making the fur more prone to knotting. How Often a Longhaired Munchkin's Back Half Needs Brushing goes into this in more detail.
- Activity Levels and Environment: An active Munchkin exploring its environment might pick up burrs, dirt, or debris that can get caught in its fur. Similarly, if your home has a lot of carpet or rugs, the constant friction can encourage mats to form on the belly and hindquarters. Think about where your Munchkin likes to nap or roll around—these are often prime spots for fur to rub and clump.
- Litter Box Habits: This is a big one for the hindquarters. If your Munchkin struggles to get in and out of a high-sided litter box, or if they don't clean themselves thoroughly after going to the bathroom, residual waste can cling to their fur and quickly create sticky, matted patches. Using a Which Litter Box a Munchkin Can Actually Enter can make a huge difference in preventing this specific problem.
- Weight and Mobility: An overweight Munchkin will find it even harder to reach and groom itself. The excess weight can further restrict their flexibility, making those already challenging areas virtually impossible to access. This can create a vicious cycle where mats develop, causing discomfort, which further reduces grooming attempts. Maintaining a healthy weight is paramount for their overall well-being and grooming ability, as discussed in Why Weight Control Is the Whole Munchkin Care Plan.
- Underlying Health Issues: Sometimes, a sudden increase in matting can signal an underlying health problem. If your Munchkin is feeling unwell or experiencing pain, they might neglect their grooming altogether. Conditions like arthritis, dental pain, or even stress can lead to a decline in self-grooming. If you notice a significant change in their grooming habits, it's always wise to consult your vet.
Essential Tools for Mat Removal
Before you even think about tackling those mats, you need the right arsenal of tools. Trying to remove a mat with the wrong brush or, worse, with household scissors, can lead to pain, fear, and even serious injury for your beloved Munchkin. Investing in proper grooming equipment is not just a luxury; it's a necessity for their comfort and safety.
Must-Have Grooming Gadgets
Having a few key tools on hand will make the job much easier and safer for both of you.
- Wide-toothed Comb: This is your first line of defense. A good quality, metal wide-toothed comb is excellent for working through superficial tangles and checking for mats. Start with this to gently separate the fur around a mat before moving to more intensive tools. It also helps to fluff up the fur, giving you a better view of the mat's base.
- Fine-toothed Comb/Flea Comb: Once the larger tangles are gone, a fine-toothed comb can help you get closer to the skin, identifying smaller knots that might be precursors to mats. It's also essential for ensuring all loose hair is removed, which prevents new mats from forming.
- Slicker Brush: These brushes have fine, short wires packed closely together on a flat surface. They're fantastic for removing loose undercoat and small tangles, especially on long-haired Munchkins. Use it gently, as the wires can be sharp if pressed too hard against the skin. Regular use of a slicker brush can prevent many mats from ever forming.
- Dematting Comb/Rake: This specialized tool is a lifesaver for actual mats. It features blades that are designed to cut through mats with minimal pulling. They come in various designs, sometimes with serrated edges. Always use these with extreme caution, ensuring the blades are between the mat and the skin, never directly on the skin. Which Tools a Munchkin Owner Buys to Groom Its Back Half has more on this.
- Grooming Glove: For sensitive Munchkins who dislike traditional brushes, a grooming glove can be a game-changer. It allows you to pet and bond with your cat while simultaneously removing loose fur. While not ideal for severe mats, it's excellent for daily maintenance and getting your cat accustomed to being handled.
- Treats: Last but certainly not least, a steady supply of your Munchkin's favorite treats is a crucial "tool" for positive reinforcement. Short grooming sessions interspersed with high-value treats will build a positive association and make future sessions much less stressful. Many great options can be found on Chewy or Amazon.
Safety First: Scissors and Clippers
When dealing with severe or tight mats, scissors and clippers become necessary, but they require the utmost care and precision. This isn't a task to rush or attempt if you're feeling unsure.
- Blunt-nosed Scissors: If you must use scissors, only use blunt-nosed grooming scissors. The blunt tips significantly reduce the risk of accidentally poking or cutting your cat's skin. Even with blunt tips, always slide the comb between the mat and the skin first, then carefully snip above the comb, parallel to the body. Never point the scissors directly at the skin.
- Electric Clippers: For thick, tight mats, especially in the hindquarters or belly where the skin is loose and easily snagged, electric clippers are often safer than scissors. Use a small, quiet set of clippers with a fine blade. The trick is to get the blade under the mat, parallel to the skin, and gently shave it away from the body. It’s highly recommended to have a professional groomer or vet demonstrate this technique first, or to have them handle severe matting with clippers themselves. The skin under mats can be inflamed, thin, or even bruised, making it incredibly easy to cut.
Remember, the goal is always to prioritize your Munchkin's safety and comfort. If you're hesitant, or if the mat is particularly large, tight, or close to the skin, a professional groomer or your veterinarian is always the best option.
Step-by-Step Guide to Safely Removing Mats
Removing mats from a Munchkin, especially in their hard-to-reach areas, requires patience, a gentle touch, and a systematic approach. Rushing the process will only make it more stressful for both of you and could lead to injury. Think of it as a bonding activity, not a chore!
Preparation and Calming Your Cat
Setting the right environment is half the battle won. A stressed cat will be squirmy and uncooperative, making the task nearly impossible.
- Choose the Right Time: Pick a moment when your Munchkin is relaxed, perhaps after a nap or a meal. Avoid times when they're playful or agitated.
- Create a Calm Space: Find a quiet room free from distractions (no barking dogs, loud children, or ringing phones). Lay down a towel or non-slip mat on a sturdy surface, like a table, where you can comfortably reach them without bending excessively. You don't want your back aching while trying to be gentle!
- Gather Your Tools: Have everything you need within arm's reach: combs, brushes, dematting tools, blunt-nosed scissors (if absolutely necessary), a small container for removed fur, and plenty of treats.
- Introduce the Tools: Let your Munchkin sniff and explore the tools. Gently touch them with the brush or comb, offering praise and treats. The goal is to make them associate these objects with positive experiences.
- Gentle Petting and Massage: Start by simply petting your Munchkin in the area you plan to work on. Give them a gentle massage, especially around the mat. This not only relaxes them but also helps you assess the size and tightness of the mat. Look for signs of pain or tenderness. If they flinch or cry, pause and try again later, or consider professional help.
- Positive Reinforcement: Offer a favorite treat before you even start, and continue to give small treats throughout the session. Keep your voice soft and reassuring.
Tackling Different Mat Locations
Once your Munchkin is calm and your tools are ready, you can start addressing the mats. Always work slowly and gently, prioritizing your cat's comfort.
For Mats on the Hindquarters (Around the Tail and Vent Area)
This area is notorious for collecting debris and can quickly become matted, especially in long-haired Munchkins or those who aren't thorough self-groomers. How to Groom a Munchkin's Hindquarters has additional tips.
- Positioning: Gently hold your Munchkin, perhaps cradling them in your arm or having them lie on their side. You might need a second person to help hold them gently, keeping them secure but not restrained.
- Assessment: Carefully separate the fur around the mat with your fingers. Try to get a sense of how deep and wide the mat is, and how close it is to the skin. The skin here is very thin and mobile, making it incredibly easy to cut.
- Dusting with Cornstarch (Optional but Recommended): Lightly sprinkle a small amount of cornstarch or talcum powder (unscented!) onto the mat. Work it in with your fingers. This can help to dry out greasy mats and make them easier to detangle.
- Picking and Combing: Using a wide-toothed comb, start working from the outer edges of the mat, gently teasing out small sections of fur. Hold the fur between the mat and the skin with your fingers to prevent pulling on the skin. This is called "line brushing." Work in small increments, one strand at a time if necessary.
- Dematting Tool (if needed): If the comb isn't making progress, carefully use a dematting comb. Always position the blades between the mat and the skin, pulling gently away from the body. Never saw at the mat or pull forcefully. If using blunt-nosed scissors, slide a wide-toothed comb under the mat, close to the skin, and snip above the comb in small, careful cuts. This protects the skin from the blades.
- Clean-up: Once the mat is removed, use a fine-toothed comb to ensure all small tangles are gone and the fur is smooth. Finish with a slicker brush.
- Reward: Lavish praise and treats!
For Mats Under the Belly and in Armpits
These areas are often difficult to see and reach, and the skin is particularly loose, making careful handling paramount.
- Positioning: Your Munchkin will likely need to be on their back or side for you to access these areas. Make sure they are comfortable and secure. A soft blanket can help them relax.
- Gentle Exploration: Use your fingers to locate the mats. They might feel like hard, dense lumps. Pay close attention to the delicate armpit area, where skin folds can hide mats.
- Support the Skin: When working on the belly, gently stretch the skin taut with one hand around the mat. This helps to separate the skin from the mat, reducing the risk of nicks or cuts.
- Comb and Demat: Similar to the hindquarters, start by trying to comb out the mat from the edges using a wide-toothed comb. Use the "holding the base of the fur" technique to minimize pulling. If the mat is tight, carefully use a dematting tool or clippers, always ensuring you get under the mat and away from the skin. For clippers, a small blade designed for delicate areas will be your best friend. Many people find success with quiet clippers they can order from Amazon.
- Be Aware of Nipples and Genitalia: Exercise extreme caution around nipples and genitalia. These areas are very sensitive, and accidental nicks can be painful and lead to infection.
- Post-Mat Care: After removal, check the skin for any redness or irritation. A gentle wipe with a pet-safe, unscented cleansing wipe can help, especially if the mat was causing skin irritation.
When to Call in the Professionals
It's vital to recognize your limits and know when a mat is beyond your capabilities or comfort level. Attempting to force a difficult mat out can result in serious injury, pain, and a complete breakdown of trust with your Munchkin.
- Large, Pancake-Like Mats: If a mat is very large, dense, and appears to be "pancaked" flat against the skin, it's likely too tight and painful for home removal. These often require professional clippers and a skilled hand.
- Skin Irritation/Open Sores: If the skin under or around the mat is red, inflamed, has scabs, or appears infected, do not attempt to remove the mat yourself. This requires veterinary attention, as the mat removal itself could cause more damage, and the underlying skin issue needs treatment.
- Fearful or Aggressive Cat: If your Munchkin becomes overly stressed, hisses, scratches, or bites during grooming attempts, it's a clear sign to stop. Forcing the issue will only traumatize them and make future grooming impossible. A professional groomer or vet can often use techniques or even light sedation to safely remove the mats without causing further distress.
- Mats Near Sensitive Areas: Mats close to the eyes, ears, or genitalia, or deep in the armpits, are best left to professionals due to the high risk of injury.
- Lack of Confidence: If you simply don't feel confident or skilled enough to safely remove a mat, that's perfectly okay! Your cat's well-being is the priority. Many groomers specialize in handling difficult or anxious cats and have the proper tools and experience to tackle even the trickiest mats. You might even find a mobile groomer who can come to your home, which can be less stressful for some cats.
Never feel guilty about seeking professional help. It's a responsible choice that ensures your Munchkin receives the best care without unnecessary pain or stress.
Preventing Future Mats in Difficult Areas
An ounce of prevention is worth a pound of cure, especially when it comes to mats on your Munchkin. Establishing a consistent routine and making a few strategic adjustments to their environment can significantly reduce the likelihood of those pesky tangles returning.
Daily Grooming Routines
Regular grooming is the cornerstone of mat prevention. It's not just about removing tangles; it's about bonding with your cat and proactively maintaining their coat health.
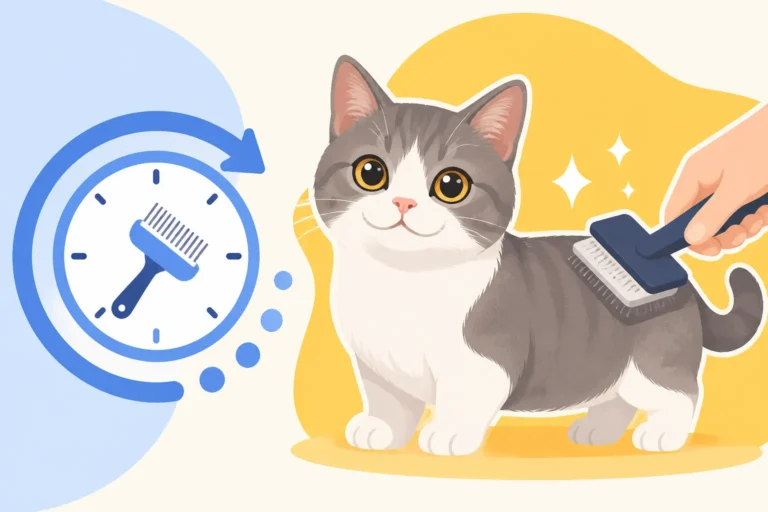
- Establish a Schedule: Aim for short, daily grooming sessions, even if it's just 5-10 minutes. Consistency is key. For long-haired Munchkins, you might even need to do a quick comb-through twice a day. This helps you catch small tangles before they escalate into full-blown mats. How Often to Brush a Munchkin's Back gives more insight into this.
- Target Trouble Spots: During each session, pay special attention to those notorious matting zones: the hindquarters, underbelly, and armpits. Gently part the fur and run a fine-toothed comb through these areas to ensure there are no hidden knots.
- Use the Right Tools: A slicker brush or a soft pin brush is great for general coat maintenance, while a wide-toothed comb should be used to gently detangle any small snags. For long-haired Munchkins, a dematting rake can be used preemptively to thin out the undercoat, preventing it from clumping.
- Positive Reinforcement: Always keep grooming sessions positive. Use treats, praise, and gentle touches. If your Munchkin starts to get fidgety or shows signs of annoyance, end the session and try again later. You want them to associate grooming with pleasant experiences, not punishment.
- Start Young: If you have a Munchkin kitten, start grooming them early. The younger they are introduced to brushes and combs, the more accepting they will be of regular grooming throughout their lives.
Environmental and Dietary Adjustments
Sometimes, the solution to preventing mats goes beyond just brushing. Your Munchkin's environment and even their diet can play a significant role.
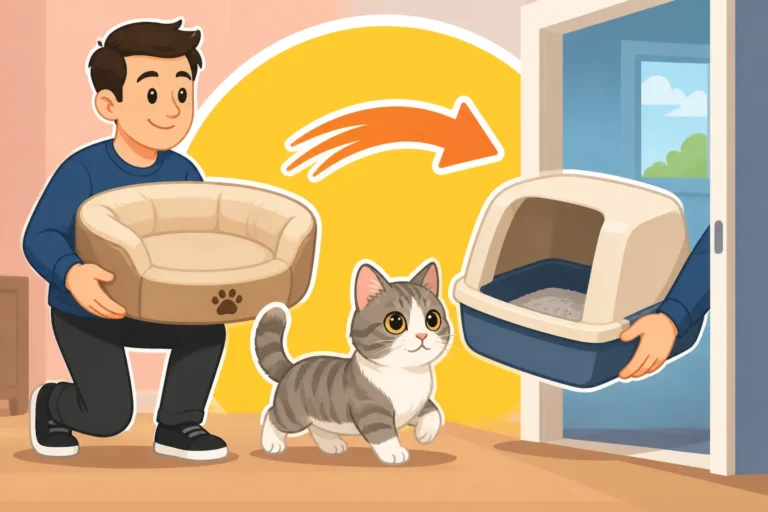
- Litter Box Upgrade: As mentioned earlier, a low-entry litter box is essential for a Munchkin. If they struggle to get into a high-sided box, they might stand in their waste or simply not clean themselves properly afterward, leading to mats around their hindquarters. Consider a senior cat litter box or one with a very low front. How Low a Munchkin Litter Box Entry Should Be offers good guidance. Also, consider the type of litter you use; fine, clumping litters can sometimes stick more to the fur, especially on the belly and hindquarters.
- Strategic Floor Coverings: If your Munchkin spends a lot of time on hard, slippery surfaces like tile or laminate, the friction can sometimes contribute to belly mats. Consider placing soft rugs or mats in their favorite lounging spots. This also provides better traction for their short legs, which is a bonus for their joint health.
- Hygienic Trims (Sanitary Clips): For long-haired Munchkins, a regular "sanitary clip" around their hindquarters can work wonders in preventing mats and maintaining hygiene. This involves carefully trimming the fur short in that specific area. This is often best done by a professional groomer or your vet, especially if you're not experienced with clippers. It reduces the surface area for waste to cling to, making self-cleaning more effective. Whether a Munchkin Needs a Sanitary Clip talks more about this.
- Weight Management: An overweight Munchkin finds it significantly harder to groom itself, especially its back and hindquarters. Every extra pound adds strain to their already unique skeletal structure and restricts their flexibility. Work with your vet to ensure your Munchkin is at a healthy weight. This might involve carefully measured portions, joint-supportive food, and encouraging gentle, floor-level play. Why Weight Control Is the Whole Munchkin Care Plan emphasizes the critical nature of this.
- Joint Supplements: While not directly preventing mats, maintaining good joint health can help your Munchkin stay flexible enough to attempt grooming. As Munchkins age, they can be prone to joint stiffness. Discuss with your vet whether a joint supplement (like glucosamine or chondroitin, often found in specialized cat foods or supplements on Chewy) could benefit your cat. Improved mobility means better self-grooming.
By being proactive with both your grooming routine and your Munchkin's environment, you can significantly reduce the pain and frustration that comes with matted fur in those tricky, hard-to-reach places. Your little cat will thank you for it!
Grooming Tools for Munchkin Cats: A Quick Comparison
| Tool Type | Best For | Pros | Cons | Caution |
|---|---|---|---|---|
| Wide-toothed Comb | Untangling loose fur, checking for small mats | Gentle, good for general use | Ineffective on tight mats | Always work slowly, from the ends of the fur towards the skin. |
| Slicker Brush | Removing loose undercoat, surface tangles | Effective for shedding, leaves coat shiny | Can be harsh if pressed too hard; not for deep mats | Use with a light hand; avoid contact with skin directly. |
| Dematting Comb/Rake | Breaking up moderate to severe mats | Specialized blades cut through mats without pulling hair | Requires careful handling, can cut skin if misused | Never pull; slide under mat, between mat and skin. Keep blades away from skin. |
| Blunt-nosed Scissors | Very precise cutting of small, isolated mats | Good for tiny, surface-level mats | High risk of cutting skin if not used correctly, especially on belly | Always use a comb as a barrier between mat and skin. Never point blades towards the cat. |
| Electric Clippers | Shaving off large, tight, or severe mats | Safest for severe mats, less pulling | Can be noisy (scares some cats), expensive, requires practice | Skin under mats is often inflamed; use a fresh, sharp blade and keep it parallel to the body. Seek pro help. |
| Grooming Glove | Daily maintenance, bonding, sensitive cats | Gentle, good for short coats, collects loose hair | Not effective on tangled or matted fur | Great for starting a grooming routine and getting cats used to being touched. |
Disclaimer
This article is for general informational purposes only and does not constitute professional advice. Laws, prices and regulations vary by location and change over time. Consult a qualified professional for guidance on your specific situation.