How to Reach Under a Munchkin’s Legs
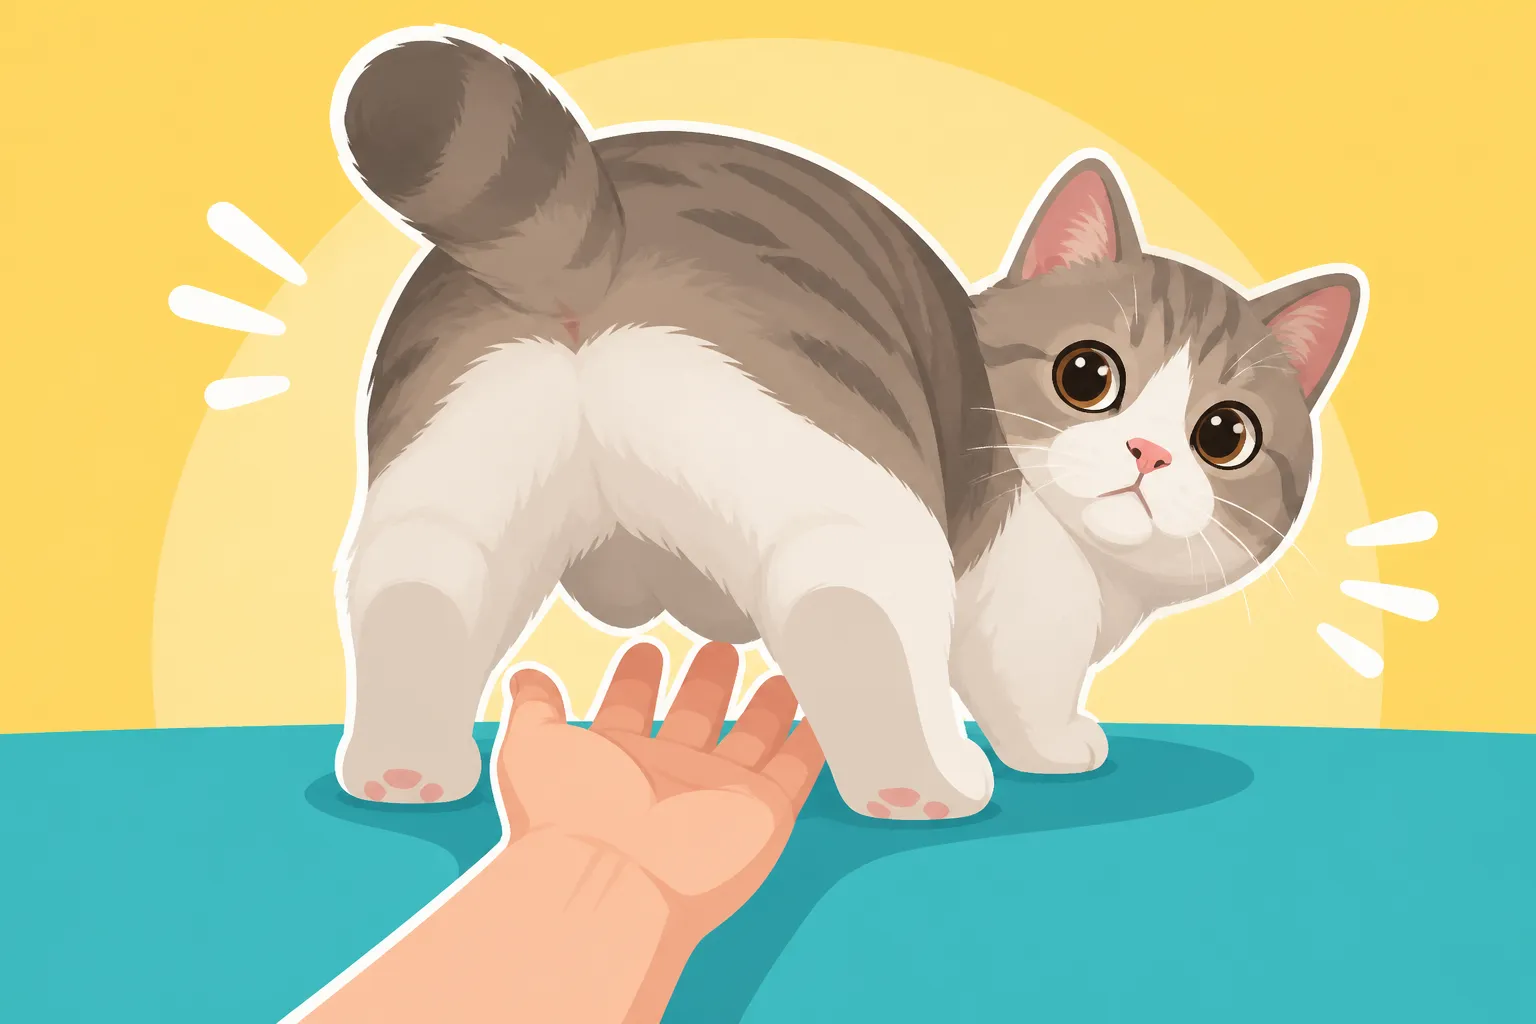
If you're a proud Munchkin cat parent, you know that their adorable short legs are part of their charm. But let's be honest, those short legs also bring a unique set of challenges, especially when it comes to keeping their underside clean and free of mats. It's a common frustration to try and reach those tucked-away spots without causing your little furry friend discomfort, and that's exactly what this guide aims to solve. We're going to dive deep into practical, empathetic strategies to help you effectively groom under your Munchkin's legs, ensuring they stay healthy, happy, and tangle-free.
The Unique Challenges of Grooming a Munchkin's Underside
Living with a Munchkin cat means embracing their distinct physicality. While their short legs are what make them so endearing, they also create some very specific hurdles for personal hygiene. It’s not just about aesthetics; keeping their underside clean is crucial for their health and comfort.
Why Their Short Stature Makes Grooming Difficult
Imagine trying to wash your back if your arms were only half their length – that's a bit like what a Munchkin experiences! Their defining characteristic, a form of pseudoachondroplasia, means their legs are significantly shorter than those of an average cat. While their spine and body length are typically normal, their limbs just don't offer the leverage and reach a regular cat uses for self-grooming. This isn't a problem they can just "try harder" to overcome; it's a physical limitation.
Because their bodies sit so much closer to the ground, everything they walk over has the potential to come into contact with their belly and inner legs. Dust bunnies, stray litter, crumbs, and even outdoor debris (though most Munchkins are strictly indoor cats, and for good reason!) can easily cling to their fur. It’s a constant battle against gravity and everyday household elements. Many owners notice their Munchkins, especially those with longer coats, develop a "swiffer" effect, picking up everything in their path.
Common Areas Prone to Matting and Dirt
Due to their low-slung bodies, certain areas of a Munchkin cat are hotspots for collecting dirt and developing mats. These aren't always obvious spots, which is why regular, thorough checks are so important.
- The Belly and Armpits: This is perhaps the most challenging area. Their short legs mean the fur on their belly often brushes the floor. Add to that the constant motion of their front legs, and the fur in their armpits (the axillary region) can quickly become tangled and matted. These mats can be incredibly painful as they pull on delicate skin.
- Inner Thighs and Groin: Just like humans, cats have areas of skin that rub together, and for Munchkins, this is amplified. The inner thighs can collect urine, fecal matter, and general grime, especially if they have longer fur or struggle to clean themselves after using the litter box. This can lead to skin irritation and even infection if not addressed. You can learn more about this in Why a Munchkin's Belly Fur Needs Checking.
- Behind the Hind Legs/Sanitary Area: This is a critical zone, particularly for long-haired Munchkins or those with less flexible backs. They simply cannot reach far enough back to clean their hindquarters thoroughly after using the litter box. This can result in dried fecal matter, urine staining, and severe matting that can block the anus or irritate the skin. It’s not just unpleasant; it's a serious hygiene issue. Whether Matting Becomes a Health Problem in a Munchkin is a good read if you're concerned about this.
- Chest and Under the Chin: While not as common for matting as the other areas, the chest and under the chin can still collect food debris, especially if your Munchkin is a messy eater. Keeping this area clean prevents skin irritation and keeps their fur looking tidy.
The Risks of Neglecting Underside Grooming
Ignoring the specific grooming needs of your Munchkin's underside isn't just about a bit of matted fur; it can lead to significant health problems and discomfort for your beloved companion. Understanding these risks can help reinforce the importance of a consistent grooming routine.
Firstly, skin irritation and infections are a huge concern. Mats, especially those in the armpits or groin, create damp, warm environments perfect for bacteria and yeast to thrive. The constant pulling of matted fur on the skin can also cause open sores, which are entry points for infection. A cat suffering from skin irritation might lick, chew, or scratch the area excessively, only worsening the problem and creating a vicious cycle of discomfort and damage.
Secondly, pain and restricted mobility are inevitable consequences of neglected mats. Imagine having a tight knot pulling at your skin with every step you take; that's what severe matting feels like to a cat. Mats can become so tight that they impede movement, making it painful for your Munchkin to walk, run, or even lay down comfortably. This can lead to a more sedentary lifestyle, which is particularly dangerous for Munchkins as Why Weight Is More Dangerous on a Munchkin explains. A cat in pain might become withdrawn, aggressive when touched, or lose their appetite.
Finally, severe mats, particularly around the sanitary area, can lead to unhygienic conditions that cause blockages or further skin issues. If a cat cannot properly clean itself, dried faeces can accumulate, leading to fecal impaction or skin infections around the anus. Urine scalding can also occur if the fur around the urethra is constantly wet. These issues require veterinary intervention and can be quite distressing for both the cat and owner. That's why being able to reach under there to help them is so vital.
Essential Tools and Preparation for Underside Grooming
Approaching grooming for your Munchkin with the right tools and a calm mindset can make all the difference. It's about setting yourself and your cat up for success.
Building Your Grooming Kit
Having the right equipment on hand will not only make the job easier but also safer for your Munchkin. Don't just grab any old brush; select tools designed for cat grooming, especially those that can handle delicate skin and fine fur.
- Soft Slicker Brush: Ideal for removing loose hair and small tangles. Choose one with soft, flexible pins to avoid scratching your cat's skin.
- Fine-toothed Metal Comb: Perfect for checking for mats that the brush might miss, particularly in sensitive areas. The finer teeth can gently work through smaller tangles.
- Rubber Curry Brush: Great for short-haired Munchkins to remove loose fur and stimulate circulation. It’s also gentle enough for their bellies.
- Mat Splitter or Dematting Comb: These tools are designed to cut through mats without pulling excessively on the surrounding fur. Use with extreme caution and follow instructions carefully. You can often find these specialized tools on large pet supply sites like Chewy or Amazon.
- Blunt-Nosed Scissors: Absolutely essential if you need to cut out a severe mat. The blunt tips prevent accidental skin pokes, but still, use with the utmost care. Always point the blunt end towards the skin.
- Pet Wipes (unscented): Great for daily spot cleaning, especially around the sanitary area or after a litter box mishap. Look for hypoallergenic, pet-safe options.
- High-Value Treats: Positive reinforcement is key! Have your Munchkin's favorite treats ready to reward cooperation and make the experience more positive.
- Non-slip Mat/Towel: Grooming on a non-slip surface will make your cat feel more secure and less likely to struggle or fall.
Remember, quality tools last longer and are safer for your pet. Don't skimp on these essentials.
Creating a Calm and Safe Environment
Cats are creatures of habit and sensitive to their surroundings. A stressful grooming session can make future ones even harder. Therefore, creating a calm and safe environment is paramount.
- Choose a Quiet Time and Place: Avoid busy household times. Find a quiet room where you won't be interrupted by children, other pets, or loud noises. Close doors and windows if necessary to minimize distractions.
- Ensure Proper Lighting: You need to see what you're doing clearly, especially when working with sensitive areas and potential mats. Good lighting helps you avoid accidental nicks or missed tangles.
- Use a Non-Slip Surface: Whether it's a designated grooming mat, a towel, or even a yoga mat on a table, ensure your Munchkin has a stable, non-slip surface to stand or lie on. This makes them feel more secure and reduces anxiety.
- Temperature Control: Make sure the room isn't too hot or too cold. Comfort goes a long way in keeping your cat relaxed.
- Positive Reinforcement is Key: From the moment you bring out the tools, use a soothing voice. Offer treats frequently, even if it's just for tolerating a few seconds of brushing. The goal is to associate grooming with positive experiences, not punishment or fear. If your Munchkin is particularly anxious, a pheromone spray or diffuser might help create a more relaxing atmosphere beforehand.
Getting Your Munchkin Used to Handling
Many cats aren't naturally thrilled about being held or having their sensitive areas touched. For a Munchkin, whose physical limitations mean they rely on you even more for grooming, desensitization is crucial. This is a gradual process that requires patience and consistency.
Start with very short, gentle sessions, perhaps just a minute or two at a time. Begin by simply petting your Munchkin's belly and inner legs while they are relaxed, perhaps when they are purring on your lap. Don't bring out the brush yet. Offer a treat immediately after touching these areas. The idea is to build a positive association: "being touched in this spot means I get a delicious treat!"
As they become more comfortable, gradually introduce the grooming tools. Let them sniff the brush. Gently touch the brush to their fur for a second, then treat. Slowly increase the duration of brushing. Always use light pressure and gentle strokes. If your Munchkin shows signs of discomfort (tail twitching, ears flattening, growling, hissing), stop immediately. Pushing them too far too fast will set you back. It's better to end on a positive note, even if you only managed a tiny bit of grooming, than to force it and create a negative association. Consistency is far more important than speed. You'll find similar advice in Getting a Munchkin Used to Being Groomed on Its Back.
Step-by-Step Guide to Reaching Under a Munchkin's Legs
Now that you're armed with the right tools and a calm approach, let's get into the nitty-gritty of actually reaching those tricky spots under your Munchkin's short legs. Remember, gentleness and patience are your best friends here.
Positioning Your Munchkin for Access
The way you position your Munchkin is key to safe and effective grooming. You need to maximize access to their underside while ensuring their comfort and supporting their unique spinal structure. Never force a position they find uncomfortable or scary.
- The "Cuddle Hold" (Side-Lying): This is often the easiest and most comfortable starting point for many Munchkins. Sit on the floor or a low surface with your Munchkin beside you, facing the same direction. Gently encourage them to lie down on their side, perhaps with their head resting in your lap. With one hand, you can gently support their upper body and ensure they feel secure, while your other hand can work on the underside of the upper-facing legs and belly. This position puts less strain on their back than holding them upright.
- The "Lap Lay" (Back-Lying): If your Munchkin is very trusting and relaxed, you might be able to get them to lie on their back in your lap. This offers excellent access to the entire belly and inner legs. However, be extremely mindful of their spine. Always support their back and neck gently, ensuring they are not contorted or stressed. If they struggle or seem uncomfortable, revert to the side-lying position. This position is also excellent for checking their paws, which is often discussed in How to Hold a Munchkin for a Nail Trim.
- The "Standing Support": For very quick spot checks or brushing, you can gently hold your Munchkin while they stand on a non-slip surface. Place one hand under their chest, supporting their weight, and use your other hand to reach under their belly or between their legs. This is less ideal for thorough grooming but can be good for daily maintenance.
- Using a Low Table or Cushion: Some owners find success placing their Munchkin on a low, padded table or even a large, firm cushion. The slight elevation can make it easier for you to reach without having to bend too much, but ensure the surface is stable and non-slip, and your Munchkin is secure.
Always speak in a soft, reassuring voice, and offer treats frequently throughout the positioning process. The goal is for them to associate these positions with positive attention, not restraint.
The Gentle Art of Brushing and Combing
Once your Munchkin is comfortably positioned, you can begin the actual grooming. Remember, gentle, short strokes are more effective and less stressful than long, harsh ones.
- Start with a Soft Brush: Begin with your slicker or rubber curry brush, depending on your Munchkin's coat length. Use short, soft strokes, working with the direction of the fur first. This helps to loosen dirt and remove superficial loose hair.
- Work in Small Sections: Don't try to tackle the entire underside at once. Focus on one small section at a time – perhaps an inner thigh, then a small patch of belly fur. This makes the task less overwhelming for both of you.
- Check for Mats Against the Grain: Once you've brushed with the fur, gently try brushing against the grain in tiny, light strokes, particularly in the armpits and around the belly. This helps reveal any hidden mats or tangles close to the skin. If you encounter resistance, do not pull.
- Use the Fine-toothed Comb: After brushing, follow up with your fine-toothed metal comb. Gently comb through the fur in small sections, always being mindful of the skin. This comb will help you find any smaller tangles that the brush missed. When you encounter a snag, stop. Do not tug.
- Focus on Hotspots: Spend extra time on the belly, armpits, and inner thighs. These are the areas most prone to matting. Lift their little legs gently to access the armpits and groin. Be especially careful in these areas as the skin is thin and delicate.
Throughout this process, keep talking to your Munchkin, praising them, and offering treats. If they show any signs of discomfort, pause, reassure them, and perhaps move to a different, less sensitive area before returning.
Dealing with Mats and Tangled Fur
Finding a mat can be frustrating, but knowing how to handle it safely is critical. The golden rule is: never pull or yank a mat. This is incredibly painful for your cat and can cause serious skin damage.
- Assess the Mat: Is it small and superficial, or large and tight against the skin?
- For Minor Tangles: Use your fine-toothed comb to gently try to tease out the tangle, starting from the very end of the fur and working your way towards the skin, a few hairs at a time. You can try sprinkling a little cornstarch or talcum powder onto the mat first; this can help the hairs slide apart.
- For Larger, More Stubborn Mats: This is where specialized tools come in.
- Mat Splitter: A mat splitter has small blades designed to cut through the mat, breaking it into smaller, more manageable sections. Carefully insert the splitter under the mat, close to the skin (but never touching it), and gently pull it through. This reduces the size of the mat, making it easier to comb out the remaining smaller pieces.
- Blunt-Nosed Scissors: If a mat is very tight and close to the skin, or if you don't have a mat splitter, blunt-nosed scissors are your last resort. This requires extreme caution. Always slide the blunt end of the scissors under the mat, parallel to the skin, making sure there's a finger's width of space between the scissors and the skin. Then, make tiny snips into the mat, again breaking it into smaller pieces. Never try to cut across the entire mat or point the sharp end towards the skin. It’s often safer to cut from the outer edge of the mat inwards. For detailed advice on this, see Getting a Mat Out of the Part a Munchkin Cannot Reach.
- When in Doubt, See a Professional: If a mat is too large, too tight, or too close to a sensitive area (like the nipple or genitals), do not attempt to remove it yourself. A professional groomer or veterinarian has the tools and expertise to safely shave off severe mats under sedation if necessary, preventing injury and undue stress for your Munchkin.
Cleaning the Sanitary Area and Belly
These areas are particularly prone to getting messy, and require gentle but thorough attention.
- Daily Spot Cleaning: For minor messes around the sanitary area (after using the litter box), unscented pet wipes are a lifesaver. Gently wipe away any faecal residue or urine drips. This prevents buildup and skin irritation.
- Warm Damp Cloth for Stubborn Messes: If there’s dried-on grime or urine staining, a warm, damp cloth (no soap!) can work wonders. Hold it against the area for a few seconds to soften the mess before gently wiping.
- Hygiene Trim (for long-haired Munchkins): Long-haired Munchkins often benefit from a "sanitary clip" or "hygiene trim" around their hindquarters. This involves carefully trimming the fur short around the anus and vulva/penis. This prevents faeces and urine from clinging to the fur, significantly reducing the risk of matting and mess. Again, use blunt-nosed scissors with extreme care, or better yet, have a professional groomer do this. You can find more specific advice about this in Whether a Munchkin Needs a Sanitary Clip.
- Belly Checks: Regularly check your Munchkin's belly for any redness, rashes, or signs of irritation, especially in the folds of skin. Their low posture means their belly skin can be prone to chafing or collecting moisture. Gentle cleaning with a pet wipe can help keep these areas fresh.
Consistency with these cleaning steps will prevent small issues from becoming larger, more uncomfortable problems for your Munchkin.
Maintaining Underside Health and Preventing Future Issues
Proactive care is always better than reactive solutions, especially when it comes to your Munchkin's unique physical needs. Establishing a routine and making some thoughtful adjustments to their environment can make a huge difference in keeping their underside healthy and clean.
Regularity is Key
Think of grooming your Munchkin as a continuous process, not a one-off event. Regularity is the single most important factor in preventing severe mats and maintaining good hygiene.
- Daily Spot Checks: A quick, gentle check of their belly, armpits, and sanitary area each day can catch minor issues before they become major problems. This could be as simple as a quick cuddle where you run your hands over these areas. If you have a long-haired Munchkin, definitely check the sanitary area every time they use the litter box.
- Weekly Thorough Grooming: Dedicate a specific time once a week for a more thorough grooming session. This is when you'll use your brushes and combs to work through all the common problem areas, checking for tangles and mats that might be forming. For long-haired Munchkins, this might need to be twice a week. You can read more about a consistent schedule in How Often to Brush a Munchkin's Back.
- Consistency Builds Trust: Regular, gentle grooming sessions, even short ones, help your Munchkin become accustomed to the routine. This builds trust and makes them more tolerant over time, reducing stress for both of you.
Diet and Weight Management
You might not immediately connect diet and weight to grooming, but for a Munchkin, these factors play a significant indirect role in their ability to stay clean and comfortable.
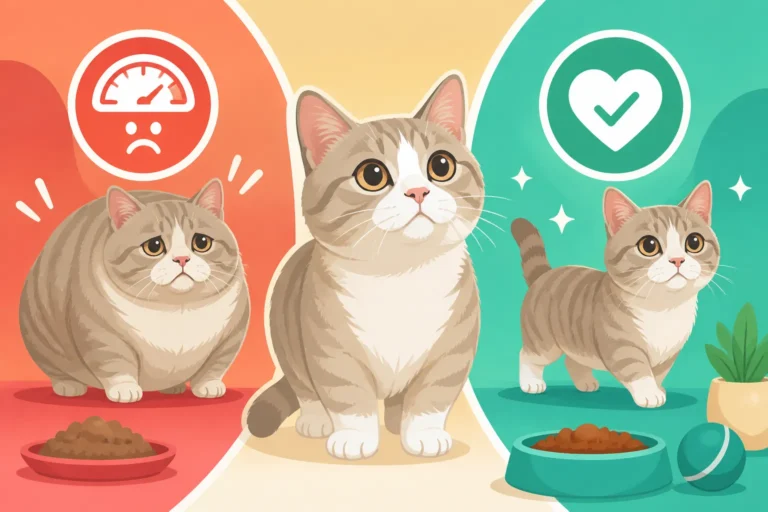
- Weight is Everything: An overweight Munchkin faces compounded challenges. Excess weight can create more skin folds, especially around the belly and groin, making these areas even harder for them to reach and for you to groom. It also makes them less flexible, further hampering their self-grooming efforts. Every extra gram puts more strain on their already unique skeletal structure. Why an Overweight Munchkin Is in Real Trouble really dives into this.
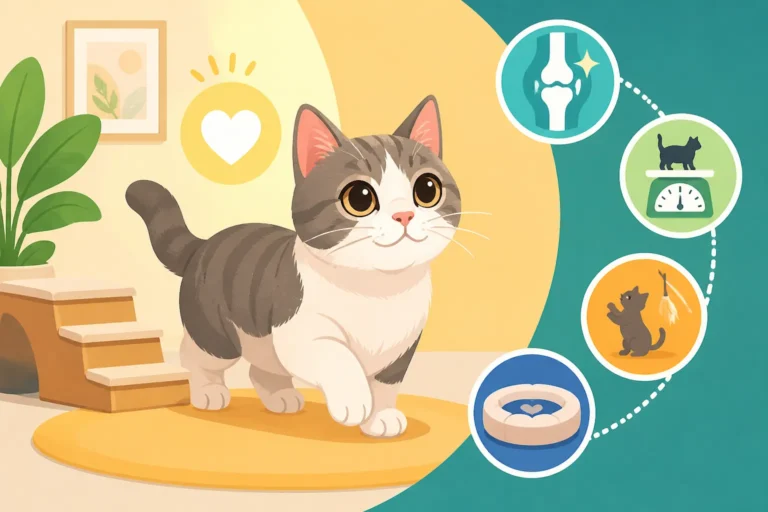
- Joint Health: A healthy, balanced diet, possibly supplemented with joint-supporting nutrients, can contribute to overall mobility. The more comfortably your Munchkin can move and stretch, the better they might be able to help with their own grooming, even if it's just a little bit.
- Litter Box Habits: A healthy diet contributes to healthy digestion, which means firmer, easier-to-pass stools. This directly impacts the cleanliness of their sanitary area. Diarrhea or very soft stools are much more likely to create a mess that your Munchkin cannot clean themselves.
Prioritizing your Munchkin's weight control and overall nutrition, as discussed in Why Weight Control Is the Whole Munchkin Care Plan, is an essential part of their grooming and overall well-being.
Environmental Adaptations
Your home environment can either exacerbate or alleviate your Munchkin's grooming challenges. Making a few strategic adaptations can make their life, and your grooming routine, much easier.
- Low-Entry Litter Boxes: This is non-negotiable for a Munchkin. A standard litter box with high sides can be difficult, if not impossible, for them to enter comfortably. Struggling to get in and out can lead to accidents outside the box or, worse, them dragging their belly and legs through soiled litter. A senior cat litter box with a low front entrance, or even a modified storage bin, is ideal. This directly impacts the cleanliness of their paws and belly fur. You can learn more about suitable options in Which Litter Box a Munchkin Can Actually Enter.
- Clean Bedding and Resting Spots: Ensure their favorite resting spots and beds are kept clean. This reduces the amount of dirt, dust, and dander that can accumulate on their fur, especially their low-lying belly.
- Accessible Scratching Posts: While primarily for claw health, a cat that can stretch and reach its scratching post comfortably will maintain better flexibility, which indirectly aids in self-grooming. Choose horizontal scratchers or vertical posts that are short enough for them to use without excessive stretching. Check out Which Scratching Post a Munchkin Can Use for ideas.
- Regular House Cleaning: Simply keeping your floors clean and free of debris will significantly reduce what your Munchkin picks up on their underside. Regular vacuuming and sweeping are your allies!
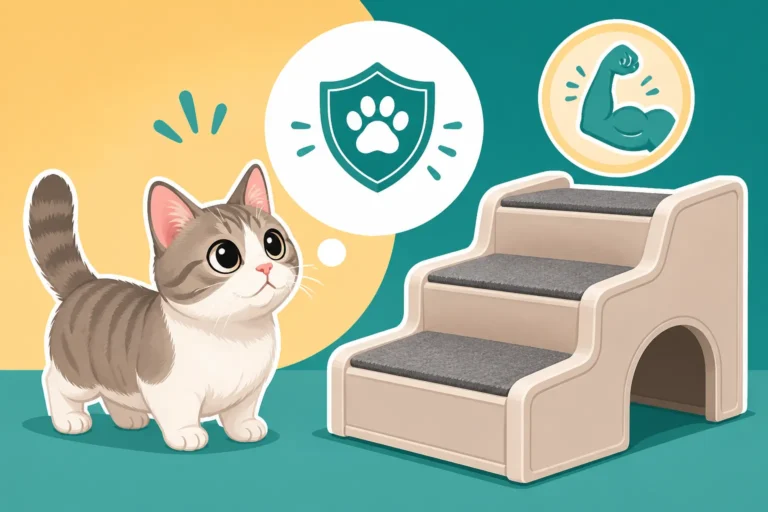
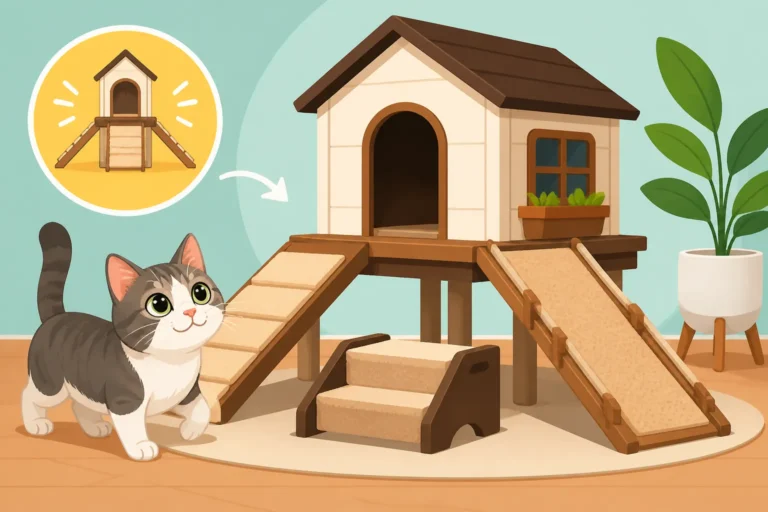
- Ramps and Steps: While not directly for grooming, having ramps and steps for furniture can reduce strenuous jumps and awkward landings, minimizing strain on their joints. A comfortable cat is a more cooperative grooming candidate. Ramps and Steps Are Munchkin Equipment, Not Luxuries explains this further.
By adapting your home, you create an environment where your Munchkin can move more freely and stay cleaner naturally, reducing the burden on your grooming efforts.
When to Call a Professional Groomer or Vet
Knowing when to seek professional help is a sign of a responsible pet owner. There are times when a mat or skin issue is beyond what you can safely handle at home.
- Severe Matting: If you encounter a mat that is large, tight against the skin, or if your Munchkin is showing signs of pain or aggression when you try to touch it, it's time for a professional. Veterinarians or professional groomers have specialized clippers and techniques to remove severe mats safely, often requiring sedation to prevent injury and trauma. Trying to cut out a deep, tight mat yourself risks cutting your cat's skin, which can lead to serious infections and a trip to the emergency vet. How Much a Groomer Charges to Clip a Munchkin's Rear might give you an idea of costs involved.
- Skin Issues: If you notice any persistent redness, rashes, sores, scabs, excessive licking, or unusual odors on your Munchkin's underside, consult your veterinarian. These could be signs of bacterial or yeast infections, allergies, parasites, or other dermatological problems that require medical diagnosis and treatment.
- Changes in Behavior or Temperament: If your Munchkin suddenly becomes withdrawn, irritable, or aggressive during grooming sessions when they were previously tolerant, it could indicate pain or discomfort. This could be due to a hidden mat, an underlying skin condition, or even joint pain. A vet check-up can help identify the root cause.
- If You Feel Uncomfortable or Unsure: Never feel embarrassed to ask for help. If you're unsure how to proceed with a particular grooming challenge, or if you're worried about hurting your cat, reach out to your vet or a certified professional groomer. They can offer guidance, demonstrate techniques, or take over when necessary, ensuring your Munchkin receives the best care.
Your Munchkin relies on you to help them manage their unique physical needs. By being proactive, patient, and knowing when to call in the experts, you can ensure they live a comfortable, healthy, and happy life.
| Grooming Tool | Best Use | Key Benefit for Munchkins | Caution |
|---|---|---|---|
| Soft Slicker Brush | Removing loose fur, small tangles | Gentle for delicate belly skin, reaches surface mats | Use very light pressure to avoid scratching |
| Fine-toothed Comb | Detangling small knots, checking for hidden mats | Excellent for armpits, inner thighs, and sanitary area | Never pull; stop if it snags |
| Rubber Curry Brush | Short-haired Munchkins, loosening dirt, stimulating skin | Very gentle, good for sensitive bellies | Not effective for deep mats or long fur |
| Mat Splitter | Breaking up larger, stubborn mats | Reduces mat size without extensive pulling | Requires extreme caution; keep blades away from skin |
| Blunt-Nosed Scissors | Carefully snipping severe mats (last resort) | Allows targeted mat removal | HIGHEST CAUTION: Always point blunt end towards skin; risk of injury |
| Pet Wipes (unscented) | Daily spot cleaning, post-litter box hygiene | Convenient for quick cleanup of sanitary area and belly | Choose pet-safe, hypoallergenic options |
Disclaimer
This article is for general informational purposes only and does not constitute professional advice. Laws, prices and regulations vary by location and change over time. Consult a qualified professional for guidance on your specific situation.