What Building Munchkin Steps Yourself Costs
It’s a familiar sight for any Munchkin cat parent: your little short-legged wonder stands at the edge of the sofa or the bed, looking up with those pleading eyes, maybe giving a tentative little jump that barely gets them off the floor. Your heart just melts, doesn't it? You know they want to be up there with you, snuggled in, but those adorable short legs just can’t quite make the leap. This isn't just about cuddles; it's about accessibility, safety, and making sure your home is a happy, navigable kingdom for your unique feline friend. This guide is all about empowering you to build custom steps for your Munchkin, perfectly suited to their needs and your home, without breaking the bank on ill-fitting, store-bought solutions.
Why Building Your Own Munchkin Steps Is a Smart Move
Let's be real, finding the perfect ready-made set of pet stairs for a Munchkin can feel like searching for a needle in a haystack. Many are too tall, too steep, or made with materials that just won't stand up to a cat's playful energy or your home's aesthetic. That's where building your own steps truly shines. It's not just about saving money; it's about creating a bespoke solution that fits your Munchkin like a glove and integrates seamlessly into your living space.
Custom Fit for Your Home and Your Cat
Think about your sofa. Is it a low-slung modern piece, or a traditional, higher cushion style? What about your bed? Each piece of furniture presents a unique height challenge for your short-legged companion. Store-bought steps often come in standardized heights and depths, which might work for a typical small dog but are rarely ideal for a Munchkin. You might find a set that gets them almost there, but that last little jump can still put unnecessary strain on their joints, especially their shoulders, which often bear the brunt of any impact. Why a Munchkin's Shoulders Wear First.
When you build your own, you are in control. You can measure the exact height your steps need to be, ensuring a comfortable, gradual incline. You can decide on the depth of each tread, making sure there's ample space for your Munchkin to confidently place their paws without feeling rushed or unstable. This level of customization is invaluable. It means your steps aren't just an afterthought; they become a thoughtful extension of your furniture, designed specifically to meet your cat's physical needs and prevent potential injuries from repeated, awkward jumping. It’s about creating a safe pathway to all their favorite elevated spots, from the sunny windowsill perch to the top of your bed, transforming "can't reach" into "can conquer."
Cost-Effectiveness Versus Store-Bought Options
It’s easy to assume that buying pre-made steps would be cheaper and less hassle, but that’s not always the case, especially when you’re looking for quality and a specific aesthetic. Basic, flimsy plastic steps might be inexpensive, but they often wobble, lack proper traction, and can look quite out of place. On the other hand, well-made wooden pet stairs or upholstered ramps can be surprisingly pricey, often costing hundreds of dollars, and still not offering the precise dimensions you need.
By choosing the DIY route, you're essentially paying for raw materials, which are typically far less expensive than a finished product, especially if you source wisely. You can utilize leftover wood from other projects, repurpose old carpeting, or even find affordable lumber scraps at your local hardware store. The initial investment might involve buying a few basic tools if you don't already have them, but these tools can then be used for countless other home improvement projects. Over time, the cost savings become significant, particularly if you have multiple areas in your home where your Munchkin needs assistance. This approach ensures you get exactly what you need without the “pet furniture” markup, freeing up funds for other important aspects of their care, like joint-supporting food or a robust pet insurance plan.
The Joy of Empowerment and Personalization
There's a unique satisfaction that comes from creating something with your own hands, especially when it's for a beloved pet. Building your Munchkin's steps isn't just a chore; it's a creative project. You get to choose the type of wood, the color and texture of the carpeting, and even add decorative elements that match your home’s decor. Imagine steps that blend in seamlessly with your bedroom furniture or a ramp leading to a sunny window perch that looks like it was always meant to be there.
This personalization isn't just for you; it can make the steps more inviting for your cat too. Using materials they already love, like a certain type of carpet, can encourage them to use their new pathways more readily. It’s also a wonderful way to actively participate in your pet's well-being, understanding firsthand the effort it takes to adapt your home to their unique physical needs. You’ll be able to proudly say, "I built those for my Munchkin!" and your cat will surely appreciate their newfound freedom to explore their world more fully. How a Munchkin Uses Furniture as a Staircase is a common sight, and these steps provide a much safer alternative.
Essential Materials and Tools for Your Project
Before you dive into cutting and assembling, it’s crucial to gather the right materials and tools. Thinking ahead about what you'll need will save you multiple trips to the hardware store and ensure your project goes smoothly. Remember, safety and stability are paramount for your Munchkin's little legs, so choosing appropriate materials is key.
Selecting the Right Wood and Fasteners
For the framework of your steps, you'll want something sturdy but manageable. Plywood is an excellent choice for the main structural elements like the sides and risers because it's strong, stable, and relatively inexpensive. Common thicknesses like 1/2 inch or 3/4 inch plywood should be sufficient, depending on the overall size and expected weight capacity. Pine lumber (1x2s or 2x2s) can be used for internal bracing or for the treads themselves, offering a lighter alternative while still providing good support. When selecting wood, look for pieces that are straight, free of large knots, and not warped, as this will make assembly much easier and result in a more stable final product.
As for fasteners, wood glue is your best friend for long-lasting stability. Apply it generously to all mating surfaces before screwing them together. For screws, use wood screws that are long enough to penetrate both pieces of wood you're joining without poking through the other side. Pre-drilling pilot holes is essential, especially with plywood, to prevent splitting and ensure a clean assembly. Consider using a non-toxic, pet-safe wood sealant or paint if you plan to finish the bare wood, though covering with carpet often makes this unnecessary. You can find many of these materials at your local hardware store, or even explore pet-safe options through online retailers like Chewy that sometimes stock materials for DIY pet projects.
Choosing Carpeting or Traction Surfaces
This is where safety truly comes into play for your Munchkin. Their short legs need good grip to climb confidently. Bare wood, laminate, or painted steps can be slippery and dangerous, leading to slips, falls, and potential injuries. You have several great options for traction:
- Carpet remnants: These are often available cheaply from carpet stores or even found in scrap bins. Look for low-pile, durable carpeting that offers good grip without being too shaggy (which can trap claws). You can cut them to size and attach them to the treads.
- Sisal or natural fiber mats: These provide excellent traction and can add an attractive, natural look. They are very durable and cats often enjoy scratching on them too.
- Non-slip stair treads: These are specifically designed for human stairs but can be cut down for smaller pet steps. They usually have an adhesive backing for easy application.
- Rubber matting: For a truly non-slip surface, rubber matting, often used for garage floors or gym equipment, can be a great option. Just ensure it's a type that doesn't off-gas strong fumes, especially for an indoor pet.
Whichever material you choose, ensure it's securely attached to the step treads. Heavy-duty spray adhesive, staples (with the stapler recessed to prevent snags), or small, flat-head screws can work. Remember, your Munchkin relies on their paws for stability, so a consistent, reliable surface is critical. Which Surface a Munchkin Needs Underfoot is a vital consideration for all areas of your home.
Basic Tools You'll Need
You don't need a professional workshop for this project, but a few basic tools will make the job much easier and safer.
- Measuring Tape and Pencil: For accurate measurements and marking cuts. "Measure twice, cut once" is the golden rule!
- Saw: A hand saw can work for small projects, but a circular saw will make straighter, faster cuts, especially on plywood. Always use appropriate safety gear like eye protection.
- Drill/Driver: Essential for pre-drilling pilot holes and driving screws. An electric drill will save your wrists compared to a screwdriver.
- Sandpaper or Electric Sander: To smooth out rough edges and prevent splinters for both you and your cat. Rounded edges are much safer and more comfortable.
- Clamps: Extremely helpful for holding pieces of wood together securely while you glue and screw, ensuring precise alignment.
- Staple Gun or Adhesive Applicator: For attaching your chosen traction surface to the steps.
- Safety Gear: Eye protection is non-negotiable when cutting or drilling. Gloves can protect your hands from splinters.
Having these tools ready before you start will make the building process much more efficient and enjoyable.
A Step-by-Step Guide to Building Your Munchkin's Stairs
Now that you have your materials and tools, let's get into the nitty-gritty of building. This is where your vision for your Munchkin's perfect steps starts to take shape!
Planning and Measuring for Success
This is arguably the most critical stage. Poor planning leads to ill-fitting steps and frustration. Grab your measuring tape and a notepad.
- Measure the Destination Height: First, measure the exact height from the floor to the top of the surface your Munchkin needs to reach – whether it's your bed, a sofa cushion, or a windowsill. Write this down.
- Determine Step Height and Depth: For Munchkins, shorter, shallower steps are best to reduce strain on their short legs and spine. A step height of 4 to 6 inches is generally ideal. Any higher, and they'll still be straining; any lower, and you'll need many more steps. Step depth should be generous, allowing your cat to place all four paws comfortably on each tread. Aim for 8 to 12 inches of depth.
- Calculate Number of Steps: Divide your total destination height by your chosen step height. Round up or down slightly to get a whole number of steps, then adjust your step height slightly to make them all even. For example, if your sofa is 18 inches high and you want 4-inch steps, you'd need 4.5 steps. You might adjust to 4 steps at 4.5 inches each, or 5 steps at 3.6 inches each. Err on the side of more, shallower steps if possible. How High a Munchkin's First Step Should Be and How Far Apart to Space a Munchkin's Steps are great guides here.
- Sketch a Design: Draw a simple diagram of your steps from the side, labeling all the dimensions: total height, individual step height, step depth, and overall width. Consider the space available in your room. Will the steps need to be narrow or wider? Wider steps offer more stability, but narrow steps take up less floor space. Make sure the width is comfortable for your cat.
- Create a Cut List: Based on your sketch, list every piece of wood you need, its dimensions (length, width, thickness), and how many of each. This will be your shopping and cutting guide.
Cutting and Assembling the Framework
With your plan in hand, it's time to bring it to life.
- Cut Your Wood: Carefully measure and cut all the pieces according to your cut list. This typically involves:
- Side Panels: Two identical pieces for the outer structure of the stairs.
- Treads: The horizontal surfaces your cat walks on.
- Risers: The vertical pieces between each tread (optional, some designs use only side panels and treads).
- Internal Bracing: Smaller pieces of wood to reinforce the structure, especially at corners and under longer treads.
Remember to wear your safety glasses and use clamps to secure the wood while cutting.
- Start Assembly with Glue and Screws: Begin by attaching the side panels to the bottom tread. Apply wood glue to the edges where the pieces meet, then clamp them together. Pre-drill your pilot holes, then drive your screws. Repeat this process for each subsequent tread and riser, working your way up. Ensure each step is level and securely attached.
- Reinforce for Stability: Once the basic structure is together, add any internal bracing. For example, you might add small blocks of wood in the corners where treads meet side panels to create extra support. The goal is to make the structure feel solid and unyielding, so it won’t wobble when your Munchkin uses it. Remember, these cats, while small, can be surprisingly quick and agile, so the steps need to withstand their enthusiastic dashes.
Adding the Finishing Touches and Safety Features
The final steps ensure your creation is safe, comfortable, and aesthetically pleasing.
- Sanding and Edge Smoothing: Go over all the exposed wooden edges with sandpaper. Focus on rounding off sharp corners, especially where your cat might walk or brush against the steps. Splinters are no fun for anyone, least of all a sensitive paw. A smooth finish also makes applying the traction surface much easier.
- Applying the Traction Surface: Cut your chosen carpeting, sisal, or non-slip material to fit each tread perfectly. Apply heavy-duty spray adhesive to the tread, then carefully press the traction material onto it, ensuring there are no air bubbles or loose edges. Alternatively, use a staple gun, making sure the staples are fully depressed and cannot catch on paws. Consider extending the material slightly over the front edge of each step for extra grip.
- Ensuring Overall Stability:
- Check for Wobble: Give the finished steps a good shake. Do they feel sturdy? If not, reinforce any weak points with extra screws or bracing.
- Non-Slip Feet: Attach rubber furniture pads or non-slip grippers to the bottom of the step structure. This will prevent the steps from sliding on hard floors as your Munchkin uses them. You can often find these in the hardware aisle or even on Chewy with other home improvement accessories.
- Placement: Position the steps securely against the furniture they're serving. For a bed, you might even consider adding a small lip or bracket to the top step that hooks under the mattress, preventing any accidental movement.
By taking these final steps seriously, you'll create a safe, inviting, and durable set of stairs that your Munchkin will happily use for years to come.
Realistic Costs and Long-Term Value
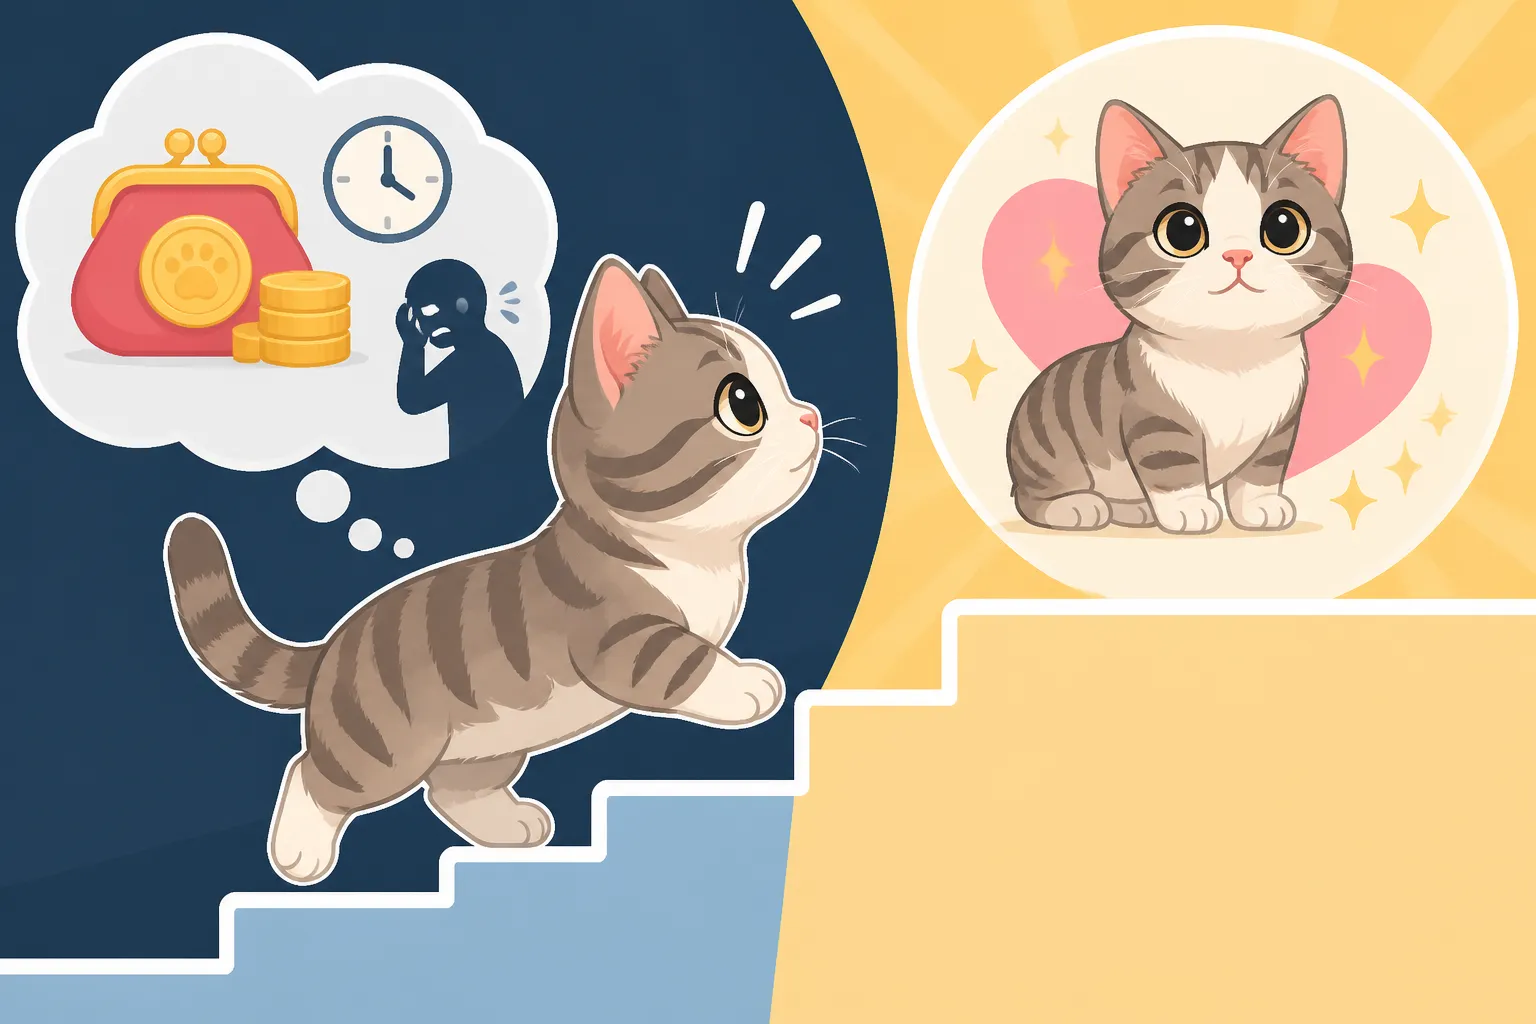
When embarking on a DIY project, it's natural to wonder about the financial outlay. While building your own Munchkin steps is almost always more cost-effective than buying high-quality, custom-fit options, understanding the potential expenses helps in budgeting. More importantly, recognizing the long-term value of these steps for your cat's health and happiness really drives the point home.
Breaking Down the Material Budget
The actual cost will vary significantly based on where you live, what materials you choose, and what you might already have lying around. However, here’s a general idea of what to expect for the core components:
- Wood (Plywood/Pine): This will likely be your biggest material expense. Depending on the size of your steps and the type of wood, you could spend anywhere from $30 to $100 for enough lumber. Plywood sheets can be bought in various sizes, and sometimes you can find "project panels" or off-cuts that are cheaper.
- Fasteners (Screws, Wood Glue): A box of wood screws suitable for this project might cost $5-$15. A good bottle of wood glue, which is essential for strength, could be $5-$10.
- Traction Surface (Carpet/Sisal/Non-slip pads): If you use carpet remnants, you might pay very little, sometimes even getting them for free from carpet installers. A small sisal mat or a pack of non-slip stair treads could range from $15 to $40.
- Finishing Supplies (Sandpaper, Non-slip feet): Sandpaper is a few dollars. A pack of rubber non-slip furniture pads is usually $5-$10.
- Optional (Paint/Sealant): If you decide to paint or seal the wood, add $10-$30 for a small can.
All in all, you're likely looking at a material cost somewhere in the range of $60 to $200. This can fluctuate, of course, but it gives you a solid estimate for planning.
Comparing DIY to Store-Bought Options
Let's put this into perspective. A quick look around online pet stores shows a wide range of prices for pet stairs.
| Feature / Item | DIY Munchkin Steps (Estimated Material Cost) | Basic Store-Bought Steps (Plastic/Foam) | Mid-Range Store-Bought Steps (Wood/Carpeted) | High-End/Custom Store-Bought Steps |
|---|---|---|---|---|
| Price Range | $60 – $200 | $20 – $70 | $80 – $250 | $300 – $600+ |
| Customization | Excellent (exact height, depth, width) | Very Low (standard sizes only) | Low (limited size options) | Moderate to High (if truly custom) |
| Material Quality | You choose (can be high) | Often Low (flimsy, lightweight) | Varies (decent, but not always solid) | High |
| Stability | Excellent (if built well) | Can be wobbly | Generally good | Excellent |
| Aesthetics | Matches your decor | Often purely functional | Limited styles/colors | Matches your decor |
| Effort Required | Moderate (planning, building) | Minimal (unpack, place) | Minimal | Minimal |
As you can see, the basic store-bought options are cheaper upfront, but they often lack the stability, customization, and aesthetic appeal you might desire for your Munchkin. Mid-range and high-end options quickly surpass the DIY cost, often without giving you the precise fit your cat needs. So, while there's a time investment, the financial value of DIY steps is clear. For more context on commercial options, you might look at What Ramps for a Munchkin Cost to Buy.
The Investment in Your Munchkin's Well-being
Beyond the numbers, the true value of building these steps lies in the profound impact they have on your Munchkin's quality of life. Think about it: every time your cat strains to jump, or lands awkwardly, their joints – especially in their shoulders and spine – take a hit. Over years, this repetitive stress can contribute to conditions like osteoarthritis, making them stiff and uncomfortable as they age. Whether a Munchkin Gets Arthritis Earlier is a common concern among owners.
By providing easy, safe access to their favorite spots, you're actively protecting their musculoskeletal health. This isn't just about comfort; it's a preventative measure that could potentially reduce the frequency and severity of future vet visits related to joint pain or mobility issues. A happy, mobile Munchkin is less likely to become withdrawn or frustrated due to inaccessible areas. This long-term care strategy, coupled with a good diet, perhaps joint supplements, and a comprehensive pet insurance policy, ensures you're doing everything you can to support their long, healthy life.
These steps aren't just pieces of wood and carpet; they're an investment in your Munchkin's comfort, longevity, and overall happiness. They help your cat maintain their natural playful spirit without unnecessary physical stress, truly improving their daily life over their The Twelve to Fifteen Years a Munchkin Usually Gets. Furthermore, as your Munchkin gets older, these ramps become even more crucial. What an Old Munchkin Needs Once Its Ramps Get Too Steep outlines how modifications might even be necessary to adapt to their changing mobility.
Maintaining and Adapting Your Custom Munchkin Steps
Once your custom steps are built and in place, your job isn't quite done! To ensure they continue to serve your Munchkin safely and effectively for years to come, regular maintenance and occasional adaptations are key. Just like any part of your home, and certainly any piece of pet equipment, a little ongoing care goes a long way.
Keeping Your Steps Clean and Secure
Cats are generally clean creatures, but even the tidiest feline can track dirt, shed fur, or occasionally leave behind a hairball on their favorite steps. Regular cleaning is essential to keep the steps hygienic and appealing for your Munchkin.
- Vacuuming/Brushing: If you’ve used carpeting, a quick vacuum or brush with a stiff brush a few times a week will remove loose fur and debris. This is especially important if you have a long-haired Munchkin, as their fur can easily get tangled in carpet fibers.
- Spot Cleaning: For any spills or accidents, spot clean immediately with a pet-safe carpet cleaner. Ensure the area dries thoroughly to prevent mildew or lingering odors that might deter your cat from using the steps.
- Checking Fasteners: Periodically, perhaps every few months, give your steps a thorough inspection. Check all screws and joints to ensure they are still tight and secure. Wood can shift slightly with changes in humidity, and screws can loosen over time with repeated use. Tighten any wobbly screws or consider adding new ones if you notice any instability.
- Re-securing Traction: Over time, the adhesive holding your carpeting or non-slip strips might start to give way, or staples might work their way loose. Press down on the traction surface to ensure it’s still firmly attached to each tread. If you find any loose areas, re-glue or re-staple them immediately. A loose surface is a tripping hazard for your Munchkin.
By dedicating a few minutes to these maintenance tasks, you'll ensure your steps remain a safe and reliable pathway for your cat.
Adapting Steps for an Aging Munchkin
One of the greatest advantages of building your own steps is the flexibility to adapt them as your Munchkin ages. Just like humans, cats experience changes in mobility as they get older. An elderly Munchkin might find steps that were once easy to navigate suddenly challenging due to arthritis or reduced muscle strength. Caring for an Old Munchkin That Has Stopped Climbing highlights these changes.
- Reduce Step Height/Increase Depth: If your senior Munchkin starts to hesitate or struggle, you might need to make modifications. This could involve adding another, shallower step at the bottom, or even rebuilding the steps to have more, even shallower risers and deeper treads.
- Adding Ramps: For very senior cats or those with more advanced joint issues, ramps might become a better option than steps. If your original steps were sturdy, you might be able to convert them by adding a gentle ramp surface over the existing treads. The ramp should have a very low incline and excellent traction.
- Enhanced Cushioning: Consider adding extra padding or a softer carpet to the treads. This can be more comfortable for sensitive joints.
- Strategic Placement: As your Munchkin ages, their world might shrink a little. Ensure the most important access points – to their favorite sleeping spot, a sunny window, or their food and water bowls – are easily reachable. Why an Old Munchkin Needs Its Route Lowered is a critical piece of advice. What was once a fun adventure might become a painful obstacle.
The ability to modify and adapt your custom-built steps means you can continually provide the best possible support for your Munchkin throughout their entire life. It’s a testament to the long-term value and thoughtful care that goes into owning these special cats. This adaptability saves you from having to purchase entirely new equipment as their needs change, further underscoring the initial investment’s worth.
Disclaimer
This article is for general informational purposes only and does not constitute professional advice. Laws, prices and regulations vary by location and change over time. Consult a qualified professional for guidance on your specific situation.